🛠️ CHIRP Setup
CHIRP is the free, open-source industry standard for programming handheld radios. It works on Windows, macOS, and Linux.
1. Download CHIRP
Always download CHIRP from the official website to ensure you have the latest version (CHIRP-next).
- Official Download: chirpmyradio.com
2. Install Drivers
This is the most common hurdle. Most cheap programming cables use “clone” chips that require specific drivers.
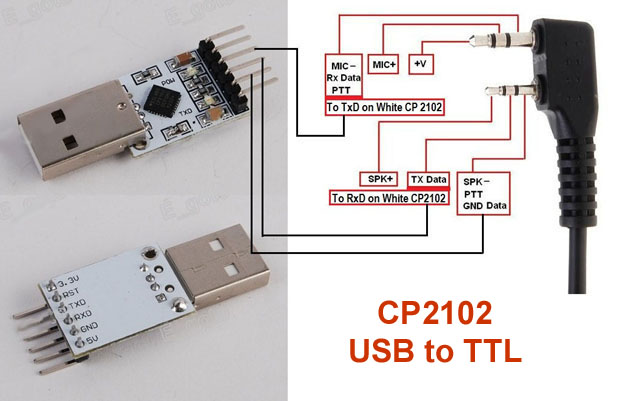
- Windows 10/11: Usually handles drivers automatically. If you see a yellow triangle in Device Manager, try the Prolific (Official) or CH340/CH341 (Official) drivers.
- macOS: May require manual driver installation and permission in “Security & Privacy”.
- Linux: Most drivers are built-in, but you may need to add your user to the
dialoutgroup:sudo usermod -aG dialout $USER(Log out and back in after running).
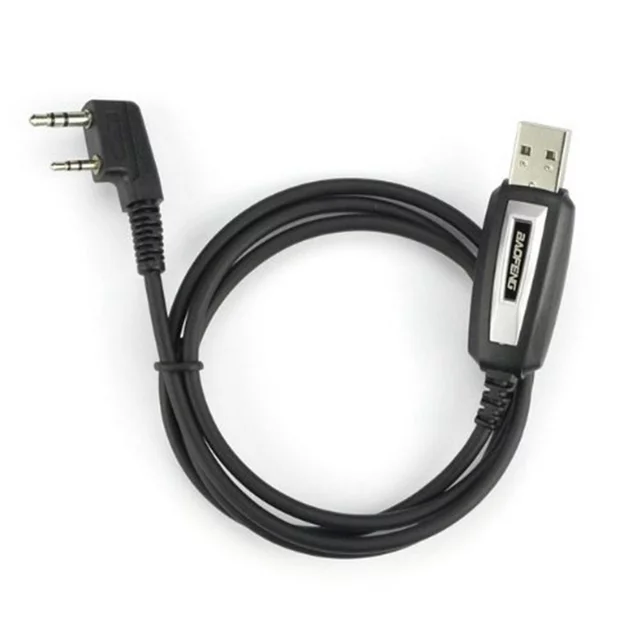
3. Connect the Hardware
- Turn the radio OFF.
- Plug the USB cable into your computer.
- Plug the 2-pin connector into the radio. Push hard until it clicks; it needs a very snug connection.
- Turn the radio ON and rotate the volume to about 50-70%.
4. Verify the Connection
In CHIRP, go to Radio > Download from Radio.
- Port: Select the one that says “USB” or “COM3/4”.
- Vendor: Select
Baofeng. - Model: Select
BF-888S(This works for Arcshell AR-5 and Pxton PX-888S as well).
If you see a progress bar, you are connected! If not, check our Troubleshooting page.